Secure Browser Access to code-server VSCode Behind Pomerium
In this guide, you'll run code-server's Visual Studio Code (VSCode) in a Docker container, and secure browser access to your project with Pomerium.
What is code-server?
Code-server is an open-source tool that allows you to run VSCode, a popular integrated development environment (IDE), on a remote server through the browser. This setup essentially turns VSCode into a cloud-based IDE, providing flexibility and accessibility advantages.
Code-server is particularly popular among developers who want the full power of VSCode, but need to work in a cloud-based environment. This is ideal if you work on multiple machines, need to access your development environment remotely, or you have limited local resources.
How to secure code-server with Pomerium
Code-server requires password authentication by default. By securing code-server behind Pomerium, you can remove code-server’s password requirement and configure Pomerium to add authentication and authorization to an online instance of VSCode.
This guide shows you how to secure code-server with Pomerium. Here are the steps you’ll follow:
Install code-server and run it in a Docker container
Access your code-server project in the browser listening on
localhostConfigure Pomerium to safely expose your code-server instance
By the end, you will have a minimal, real-world code-server instance that allows developer teams to write code using VSCode in the browser.
Before you start
- Core
- Enterprise
If you completed our Quickstart guide, you should have a working Pomerium project with the following YAML files:
config.yamldocker-compose.yaml
If you haven't completed the Quickstart:
- Install Docker and Docker Compose
- Create a
config.yamlfile for your Pomerium configuration - Create a
docker-compose.yamlfile for your Docker configuration
Set up Pomerium
In your config.yaml file, add our hosted authenticate service URL:
authenticate_service_url: https://authenticate.pomerium.app
Add the following route:
- from: https://code.localhost.pomerium.io
  to: http://codeserver:8080
  policy:
    - allow:
        or:
          - email:
              is: user@example.com
  allow_any_authenticated_user: true
  allow_websockets: true
In this example route, code.localhost.pomerium.io is the publicly accessible route. codeserver is the local hostname for the server or container running code-server.
Set up Docker Compose
In your docker-compose.yaml file, add the code-server and Pomerium services:
version: '3'
services:
  pomerium:
    image: pomerium/pomerium:latest
    volumes:
      - ./config.yaml:/pomerium/config.yaml:ro
    ports:
      - 443:443
  codeserver:
    image: codercom/code-server:latest
    ports:
      - 8080:8080
    volumes:
      - ./code-server:/home/coder/project
      - ./code-server-config/.config:/home/coder/.config
Access code-server on localhost
Run docker compose up. In your browser, go to localhost:8080.
Code-server will prompt you to enter a password:
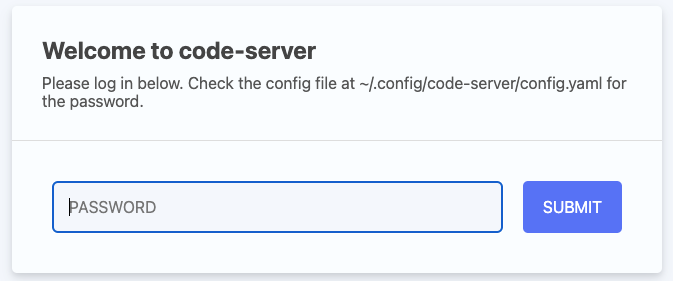
You can find a pre-generated password in code-server-config/.config/code-server/config.yaml. If you enter it, you gain access to your code-server project.
However, remembering passwords is tedious. Let's disable the password requirement and use Pomerium to enforce authentication and authorization instead.
Access code-server behind Pomerium
In docker-compose.yaml, add the following command to your code-server container:
codeserver:
  image: codercom/code-server:latest
  ports:
    - 8080:8080
  volumes:
    - ./code-server:/home/coder/project
    - ./code-server-config/.config:/home/coder/.config
  command: --auth none --disable-telemetry /home/coder/project
This will disable the password prompt (and prevent code-server from collecting telemetry data from your project). Now, restart Docker Compose and access code-server using the route defined in config.yaml:
https://code.localhost.pomerium.io
This guide shows you how to deploy code-server using Pomerium Enterprise.
To complete this guide, you need:
Configure Pomerium
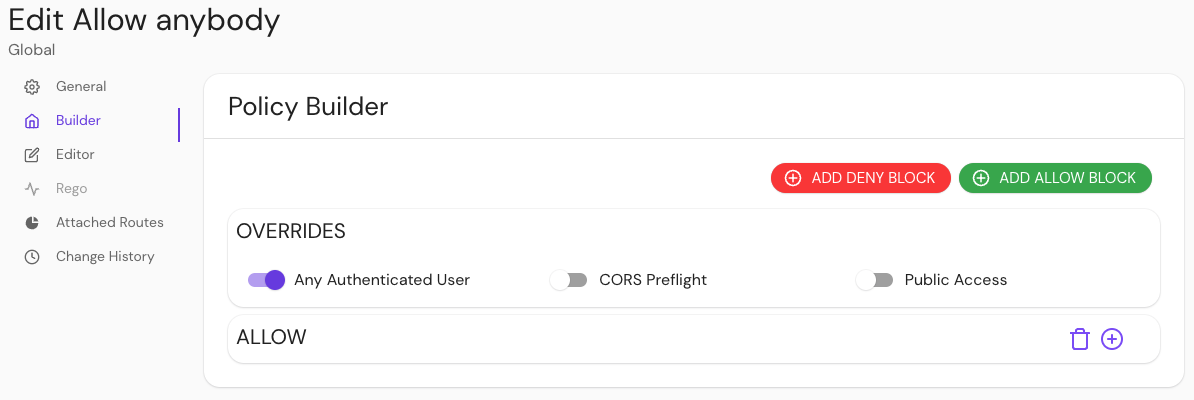
In your Console, create a policy that allows any authenticated user to access the route:
- Select New Policy
- Enter a Name for your policy, like
any authenticated - Select Builder
- Select Any Authenticated User
- Save your policy
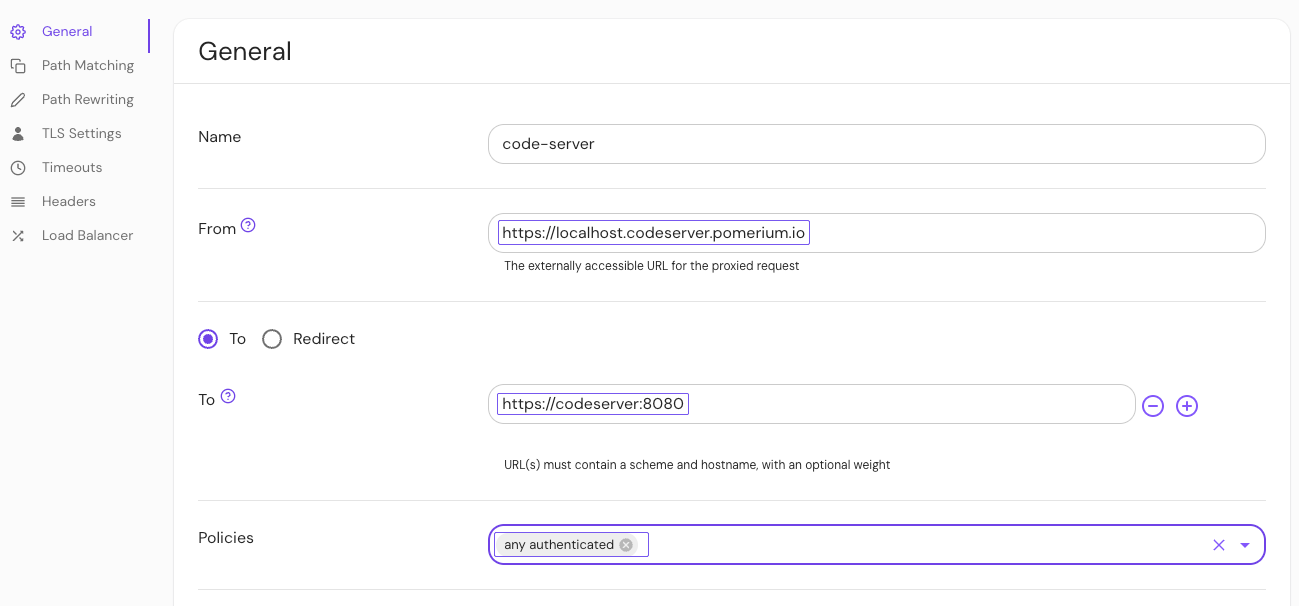
Build a route:
- Select Routes and enter a Name
- In the From field, enter the publicly accessible route (for example,
code.localhost.pomerium.io) - In the To field, enter the local hostname for the server running code-server (for example,
http://codeserver:8080)
Allow your route to create Websocket connections:
- Select Timeouts
- Select Allow Websockets
Add a policy and save it:
- Under General > Policies, select any authenticated
- Save your route
Test your routes
To see if your routes are configured correctly, navigate to the externally accessible route you defined in the From field:
https://code.localhost.pomerium.io
After authenticating against the Cognito identity provider, you will be redirected to the code-server route.
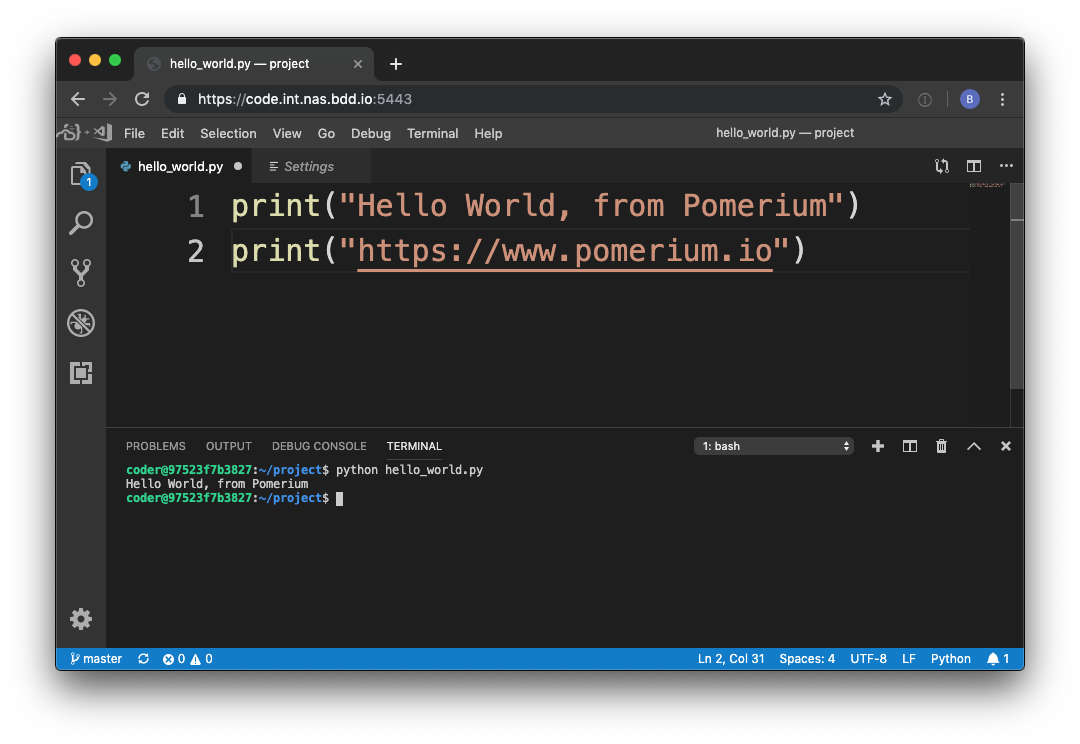
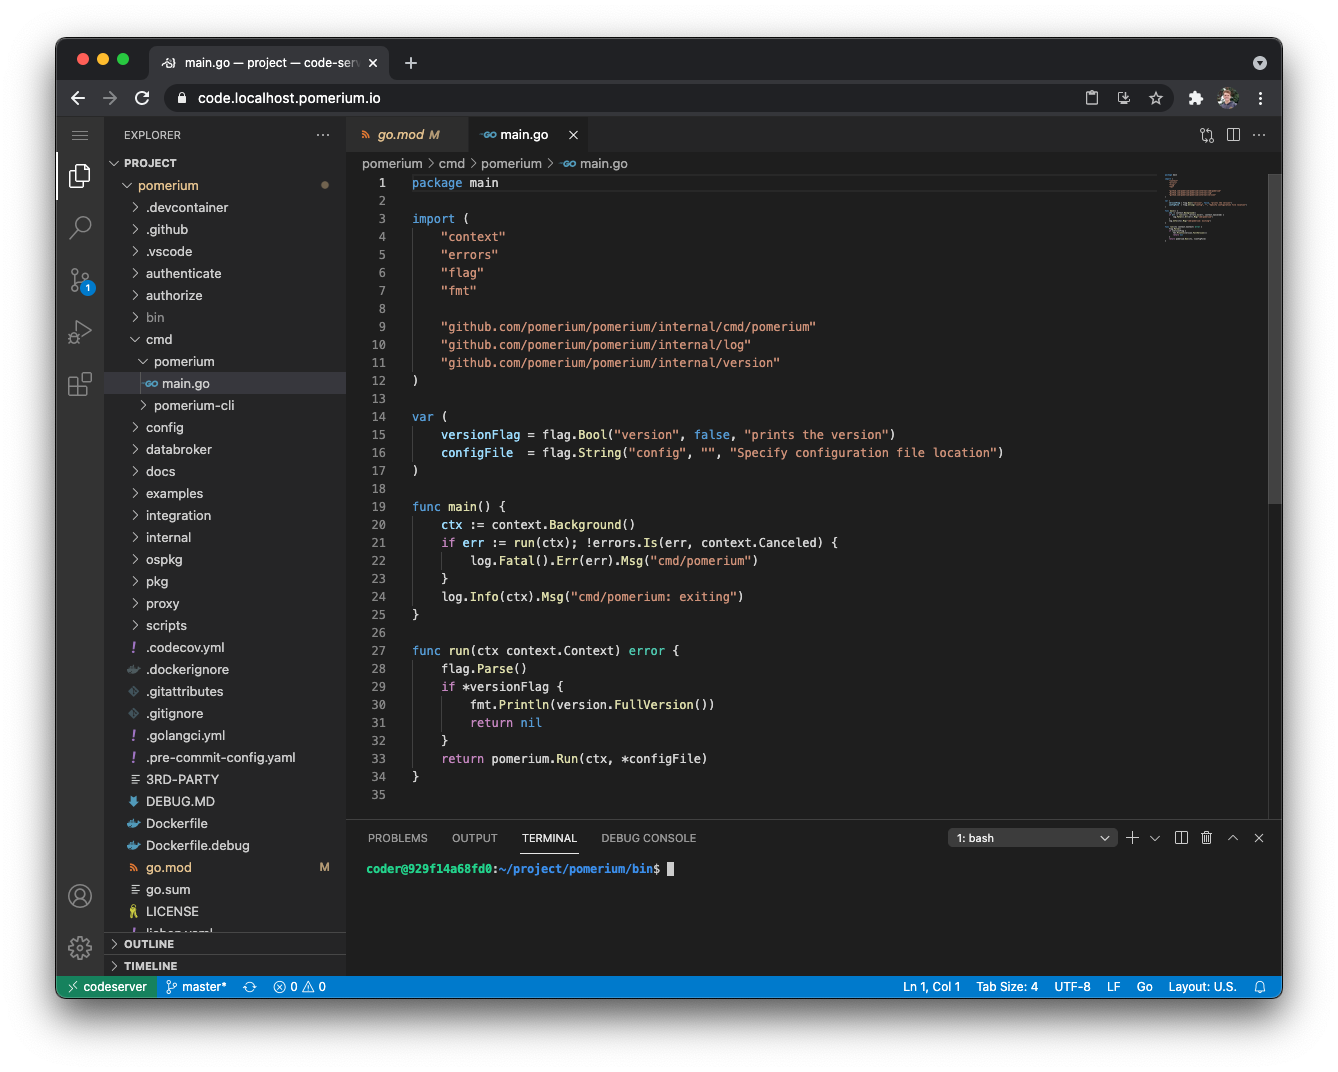
Build a project in code-server
Now that you can access VSCode in your browser, test out code-server by building a quick HTML project.
- Create an
index.htmlfile and add the following code:
<!DOCTYPE html>
<html lang="en">
  <head>
    <meta charset="UTF-8" />
    <meta http-equiv="X-UA-Compatible" content="IE=edge" />
    <meta name="viewport" content="width=device-width, initial-scale=1.0" />
    <title>Code-Server Sample</title>
  </head>
  <body>
    <h1 style="color:blueviolet">Check out more from Pomerium:</h1>
    <ul style="font-size: 20px;">
      <li><a href="https://www.pomerium.com/docs/guides">Guides</a></li>
      <li><a href="https://www.pomerium.com/blog/">Blog</a></li>
      <li><a href="https://www.pomerium.com/docs">Documentation</a></li>
    </ul>
    <h2 style="color:blueviolet">Happy coding!</h2>
  </body>
</html>
- Go to Extensions and install Live Server
- Right-click
index.htmland select Open with Live Server - Select any of the links to learn more about Pomerium
Great job! You successfully deployed code-server.
When the code-server container is rebuilt, any files outside of /home/coder/project are reset, removing any dependencies (such as go and make). In a real remote development workflow, you could mount additional volumes, or use a custom code-server container with these dependencies installed.