Cognito
This document describes the use of AWS Cognito as an identity provider with Pomerium. It assumes you have already installed Pomerium
While we do our best to keep our documentation up to date, changes to third-party systems are outside our control. Refer to Amazon Cognito Documentation as needed, or let us know if we need to re-visit this page.
Setting up AWS Cognito
If you're following this doc you likely already have a Cognito user pool. If not, expand the section below to learn how to create a user pool.
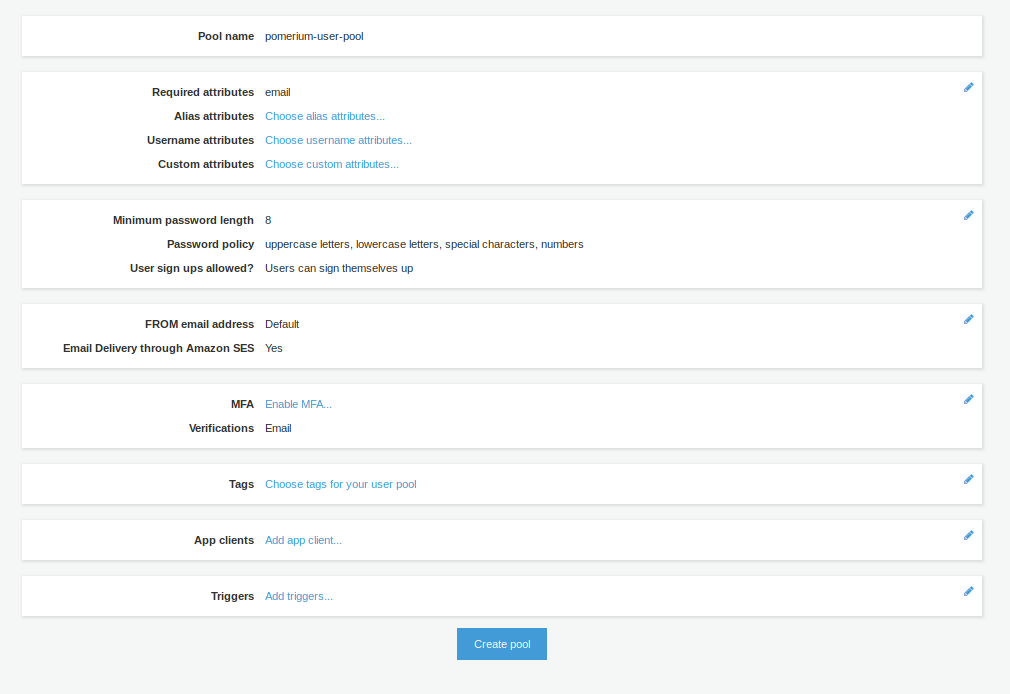
Create a User Pool
Create an App Client
From the user pool, create an App Client under General settings. This is where you configure the Pomerium application settings. Choose Add an App Client. You can configure the values to match your needs, or use the default settings:
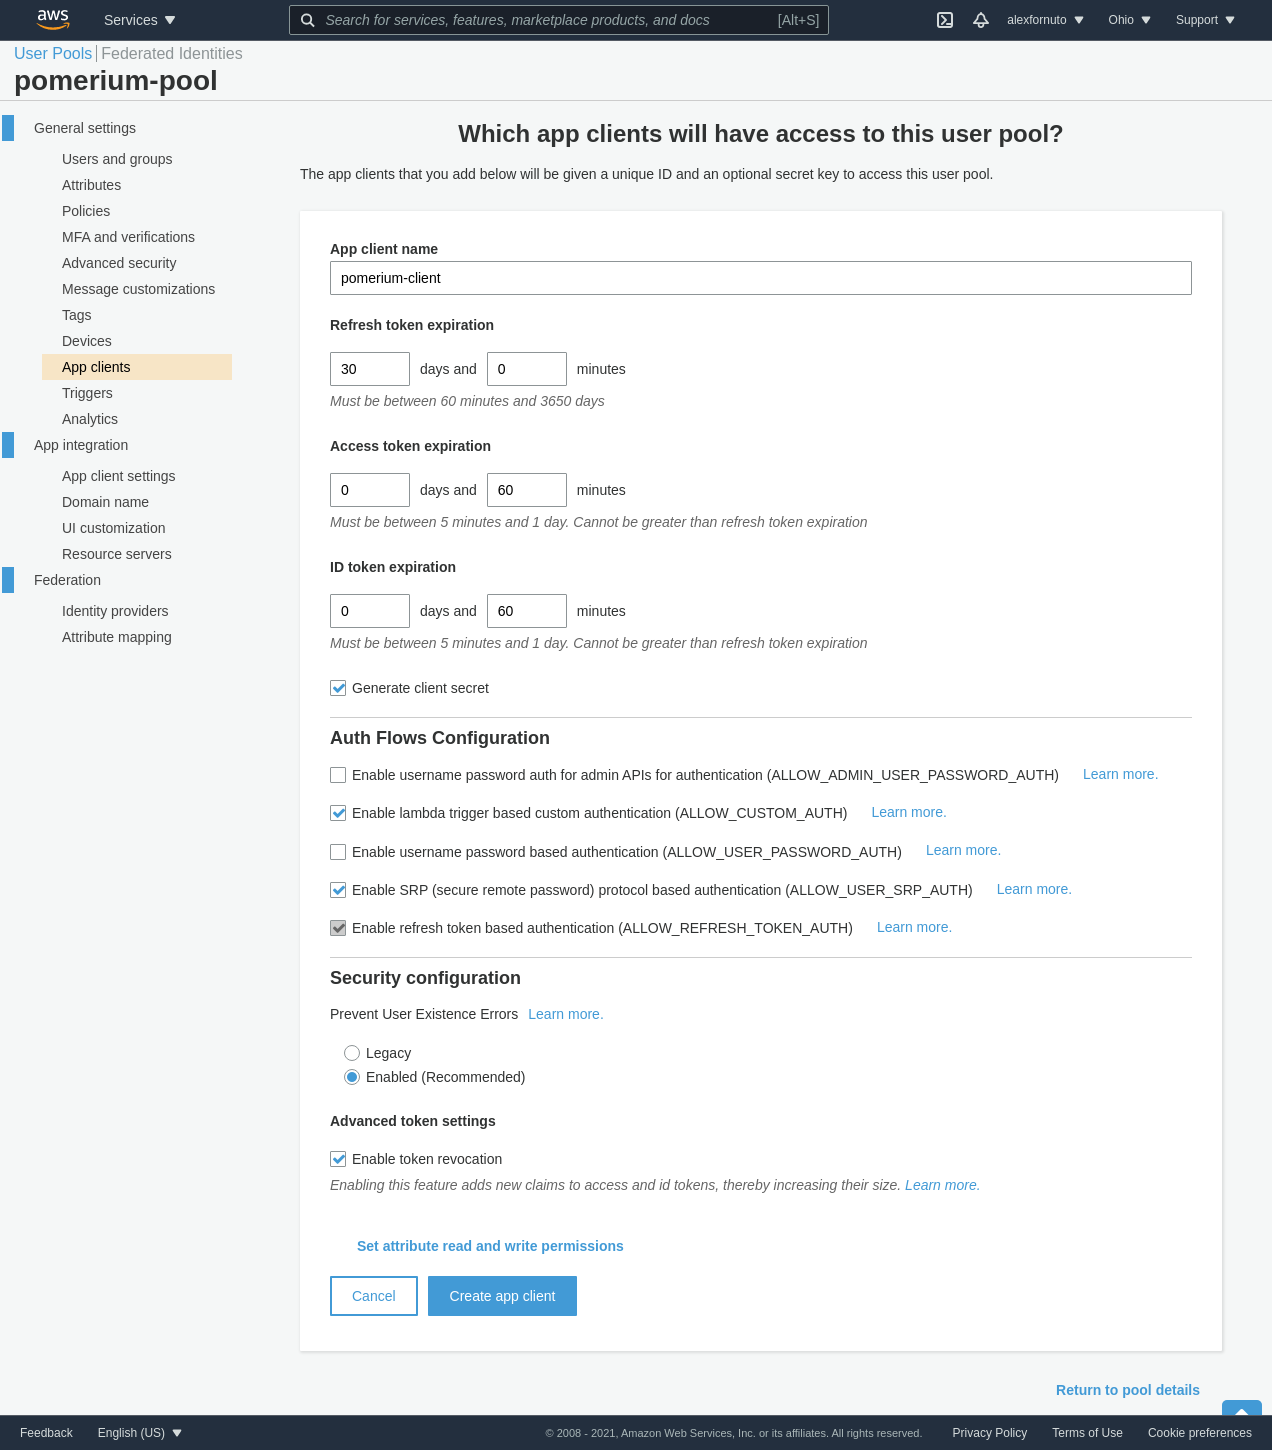
Once the client is created, retrieve the Client ID, and the Client Secret by clicking Show Details.
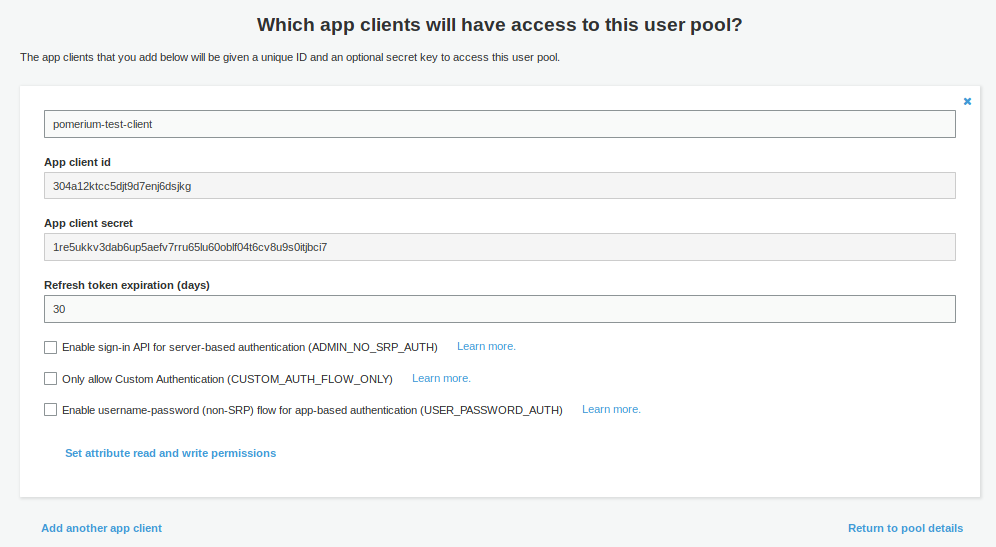
Go to App client settings (in the Side menu under App Integration)
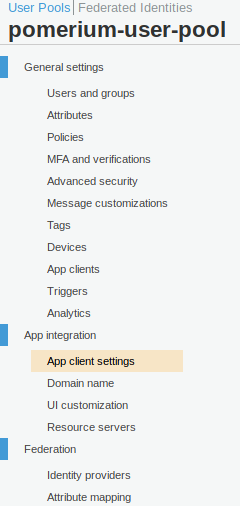
In the settings for Pomerium app, put in the following details
Field Description Enabled Identity Providers Choose Cognito User Pool, unless you have set up another Identity Provider (eg SAML) Callback URL(s) https://${authenticate_service_url}/oauth2/callback Allowed OAuth Flows Authorization code grant Allowed OAuth Scopes Email, OpenID, Profile IMPORTANT: For OAuth2 to work correctly with AWS Cognito, you must configure a Domain name. This is under App integration in the side menu
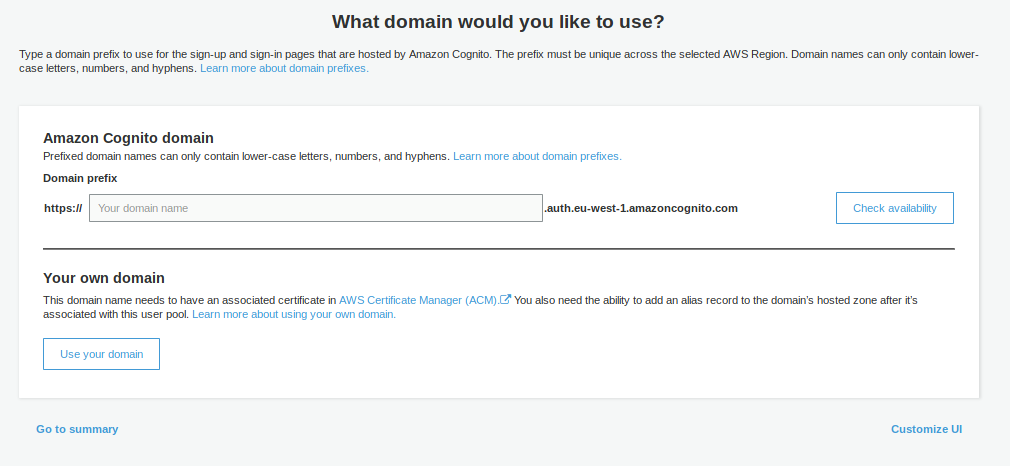
You can choose whether to use your own Domain Name, or use an AWS-provided one. The AWS-provided domain names are in the format https://${DOMAIN-PREFIX}.auth.${AWS-REGION}.amazoncognito.com
Pomerium Configuration
Once you have configured AWS Cognito, configure Pomerium to connext to it:
- config.yaml
- Environment Variables
- Kubernetes ConfigMap
idp_provider: 'oidc'
idp_provider_url: 'https://cognito-idp.${AWS-REGION}.amazonaws.com/${USER-POOL-ID}'
idp_client_id: '304a12ktcc5djt9d7enj6dsjkg'
idp_client_secret: '1re5ukkv3dab6up5aefv7rru65lu60oblf04t6cv8u9s0itjbci7'
idp_scopes: 'openid,profile,email'
IDP_PROVIDER="oidc"
IDP_PROVIDER_URL="https://cognito-idp.${AWS-REGION}.amazonaws.com/${USER-POOL-ID}"
IDP_CLIENT_ID="304a12ktcc5djt9d7enj6dsjkg"
IDP_CLIENT_SECRET="1re5ukkv3dab6up5aefv7rru65lu60oblf04t6cv8u9s0itjbci7"
IDP_SCOPES="openid,profile,email"
apiVersion: v1
data:
  config.yaml: |
    # Main configuration flags : https://www.pomerium.io/reference/
    authenticate_service_url: https://k8s-auth-prod.example.com # The URL you have set up for the Pomerium Authentication service
    authorize_service_url: https://pomerium-authorize-service.default.svc.cluster.local

    idp_provider: oidc
    idp_provider_url: https://cognito-idp.${AWS-REGION}.amazonaws.com/${USER_POOL_ID}
    idp_client_id: 304a12ktcc5djt9d7enj6dsjkg
    idp_client_secret: "1re5ukkv3dab6up5aefv7rru65lu60oblf04t6cv8u9s0itjbci7"
    idp_scopes: ["openid", "email", "profile"]
kind: ConfigMap
metadata:
  name: pomerium-config
To retrieve the User Pool ID, go to General Settings in the Cognito Side menu within your pool. The Pool ID is just above the Pool ARN.
Getting Groups
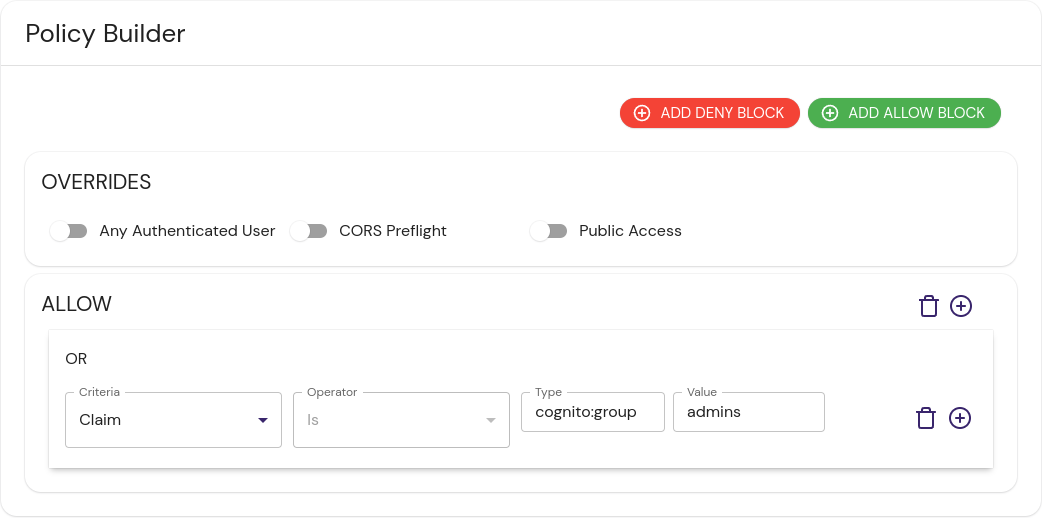
Cognito embeds group membership into the access token. To create policies based on group membership, use the allowed_idp_claims key. Replace admins in the examples below with your group:

